


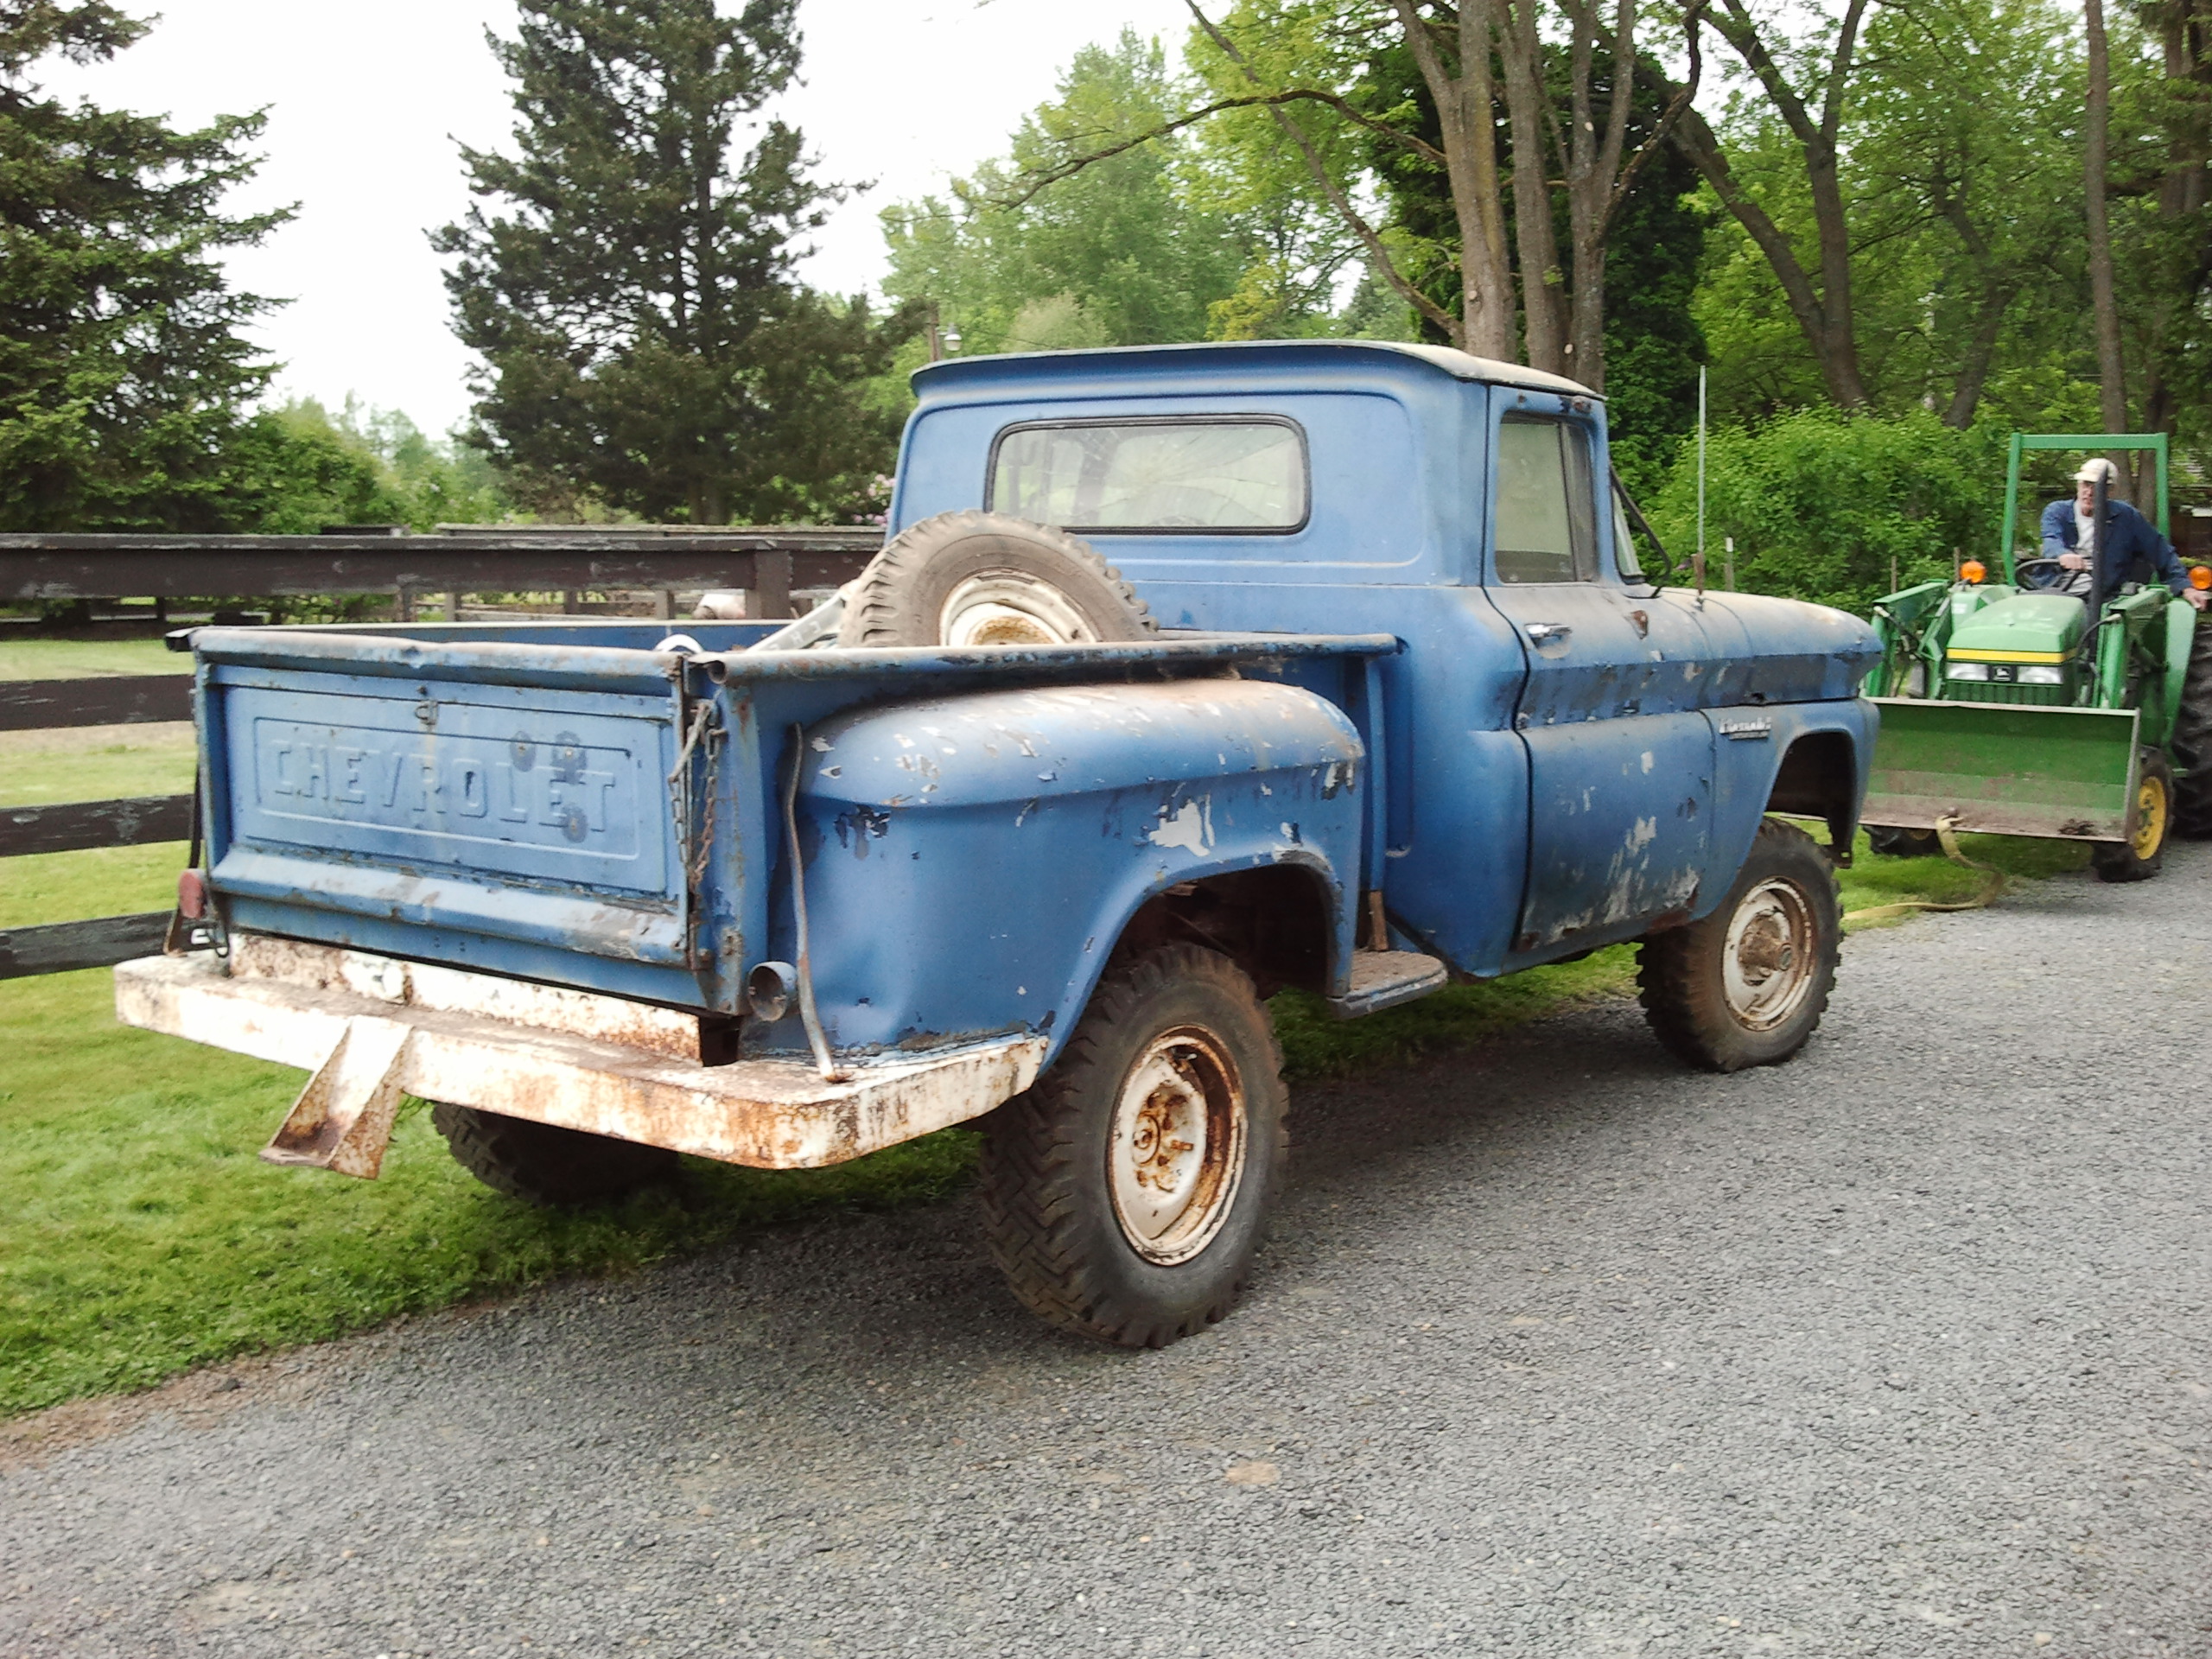
It is hard to pass up a good complete and original candidate for restoration, and we love the early civilian 4X4 trucks. This is the first year that Chevy and GMC built their own factory assembled 4X4, whereas earlier years were sold and had aftermarket NAPCO 4×4 kits put in for the buyers.
This truck is getting a frame off, total tear-down NOS restoration. In that, Battlefind is using all NOS parts and duplicating the exact finish as from the factory. Nate Gelbard has been growing his collection of versatile General Motors machines, and this one was the oldest and crustiest, by far. Not for long though, as we are going to tear into it now. We opted to replace the cab with another from a 1960 that was in far better shape, with only minor pinhole corrosion in spots.
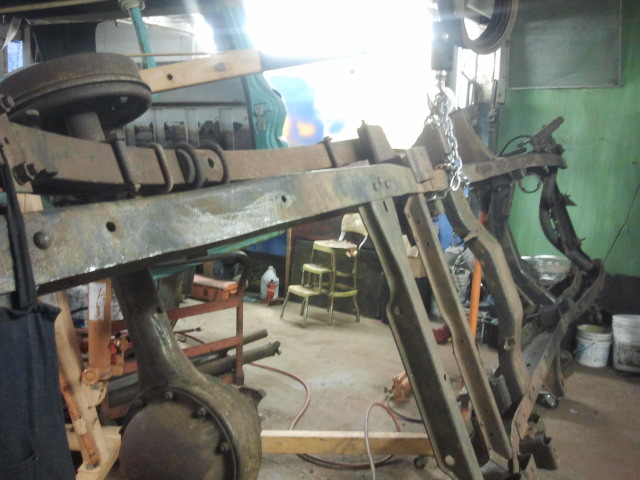
Here is a peek at it as we pulled it out of the barn where it sat since being parked in the 80’s.


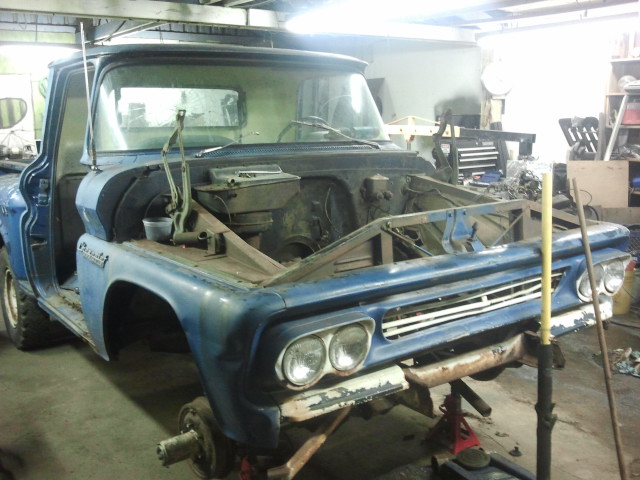
The best place to begin was with a full tear-down to assess the condition of the body- which was all pretty rough, due to Washington coastal exposure.

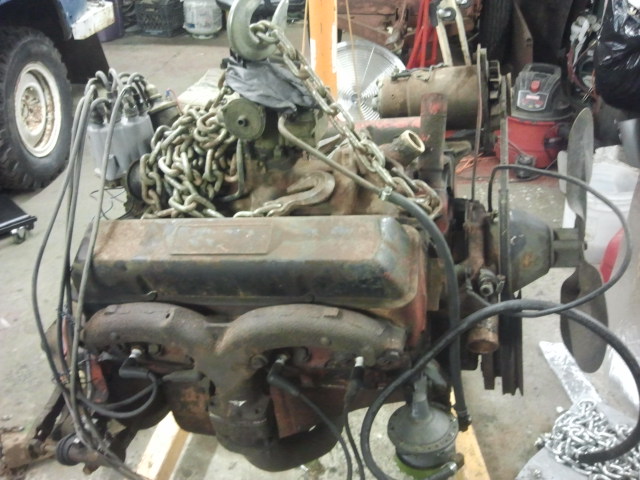
So, the engine and remaining drivetrain parts were the main focus and were totally rebuilt to precisely as they were when Chevy first assembled this K-10 4×4 in 1960. This is a crate 283 that was a replacement, bought in the early 80’s. Enough miles were logged in the time it was installed, and the time it was parked a few years later, that it deserved a full treatment, albeit in very nice condition at the starting point. Every outer fixing will be original, NOS, and just as factory completed. Thanks P.E.R. for this wonderful rebuild.
After the frame saw the business end of a needle gun for a few hours, we decided it was time to sand and apply the base material.

The front frame horns had been whacked off to fit a winch, but we found the right frame to splice the donor horns, and the fix was precise and impossible to detect. (I will add photos of this once I find that set of pics)


So, the first layer went on really well, and looked pretty super, but after it set up, it was decided that a second coat would be best, so this coat was fully hand sanded again, in prep for the re-coat.


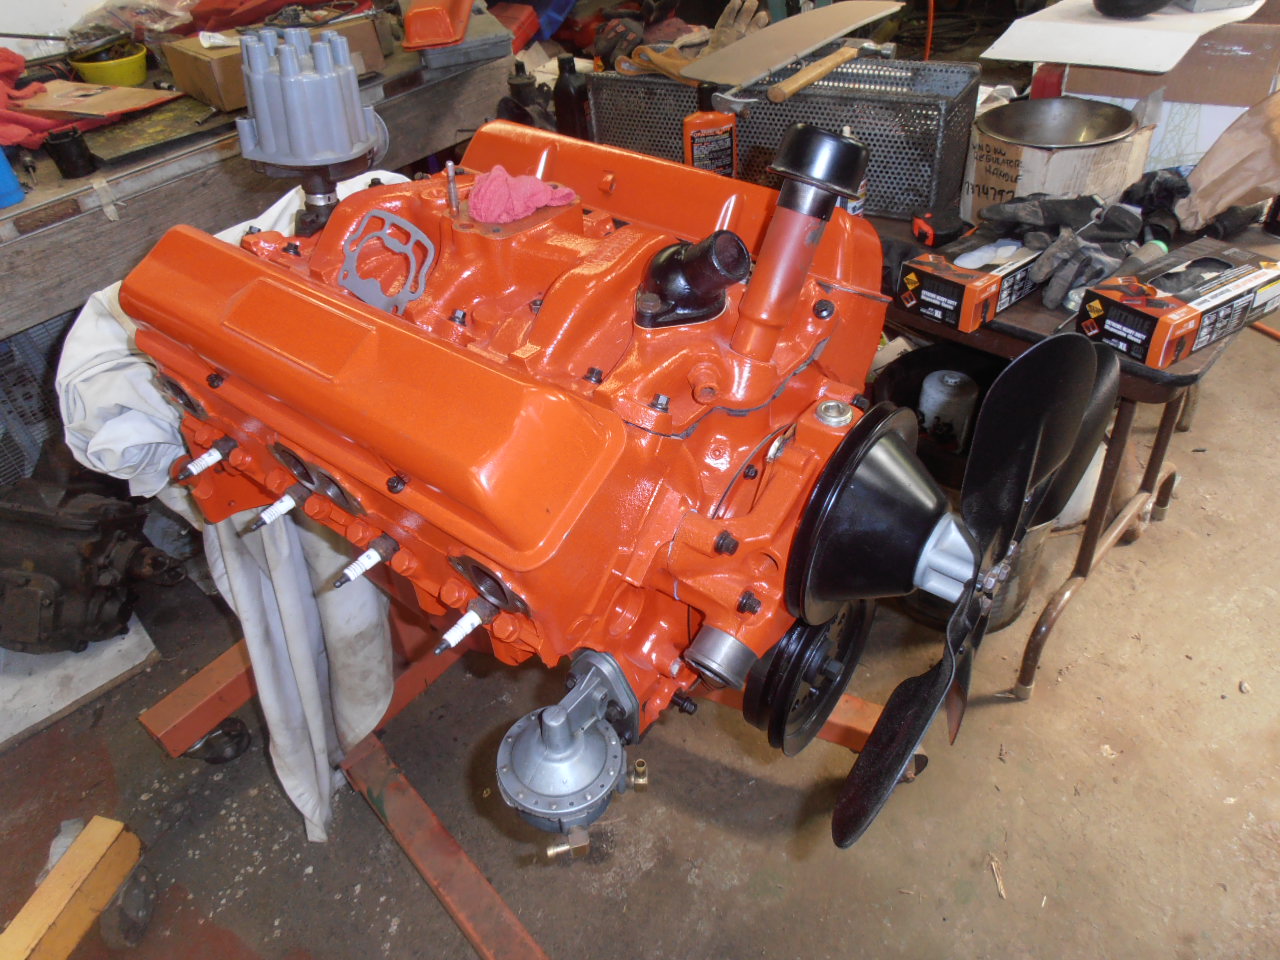
Like new, and ready for the powerplant to be fitted. Transmission and transfer case are ready to go as well, and our front diff and axles were rebuilt locally using all new bushings and bearings. This engine is topped off with a proper, N.O.S Carb too!


The original split rims that this truck left the factory with will be restored and mounted once everything else is done. Every brake part is NOS and new.
Now, for the part that I really enjoy. Our original cab was pretty well shot. The second cab that we had was pretty nice, and rocker replacement on that one was going along super.

 That became a second priority as soon as we found this beautiful gem, seen below.
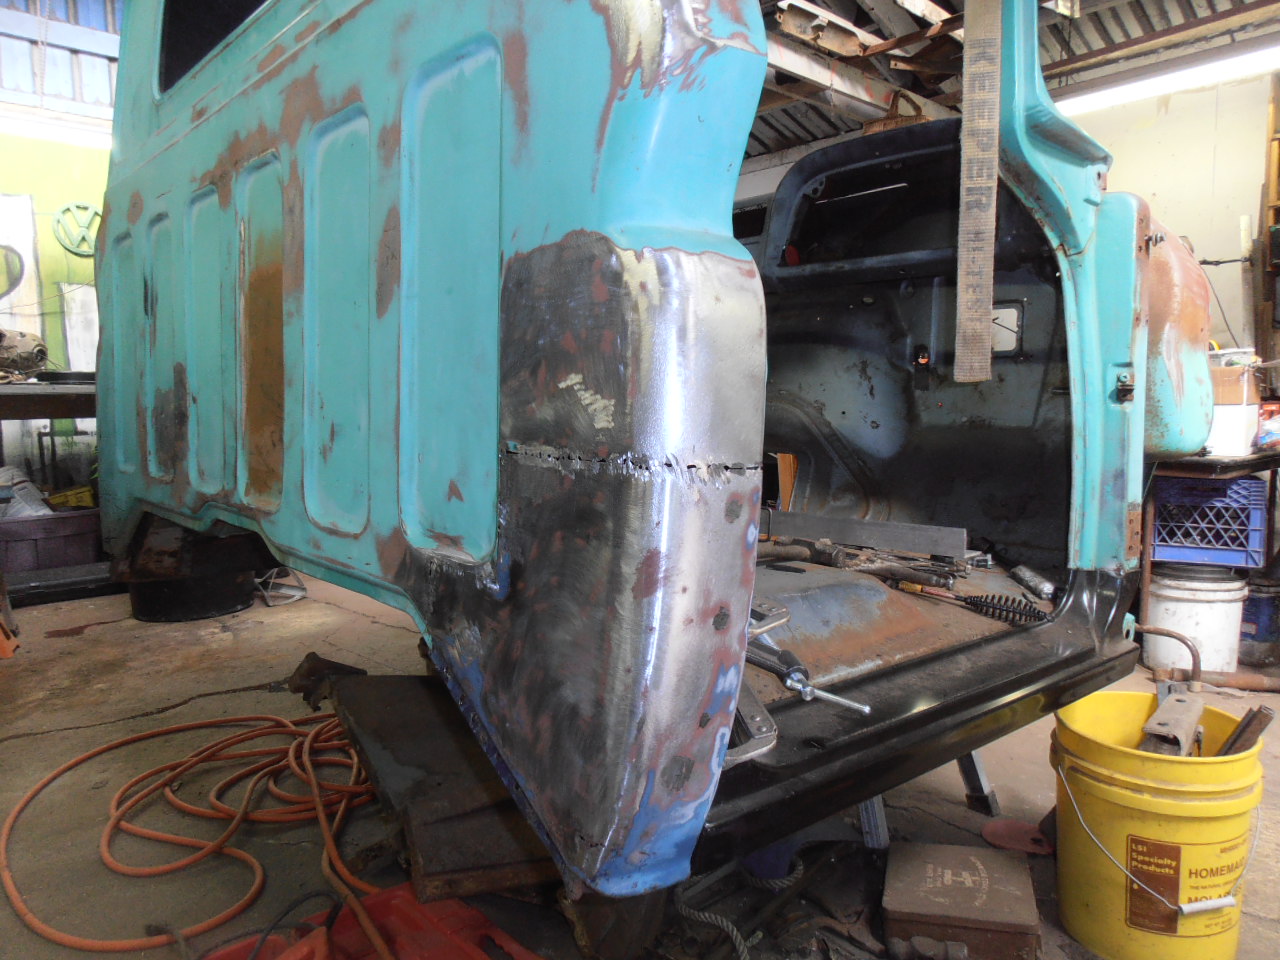
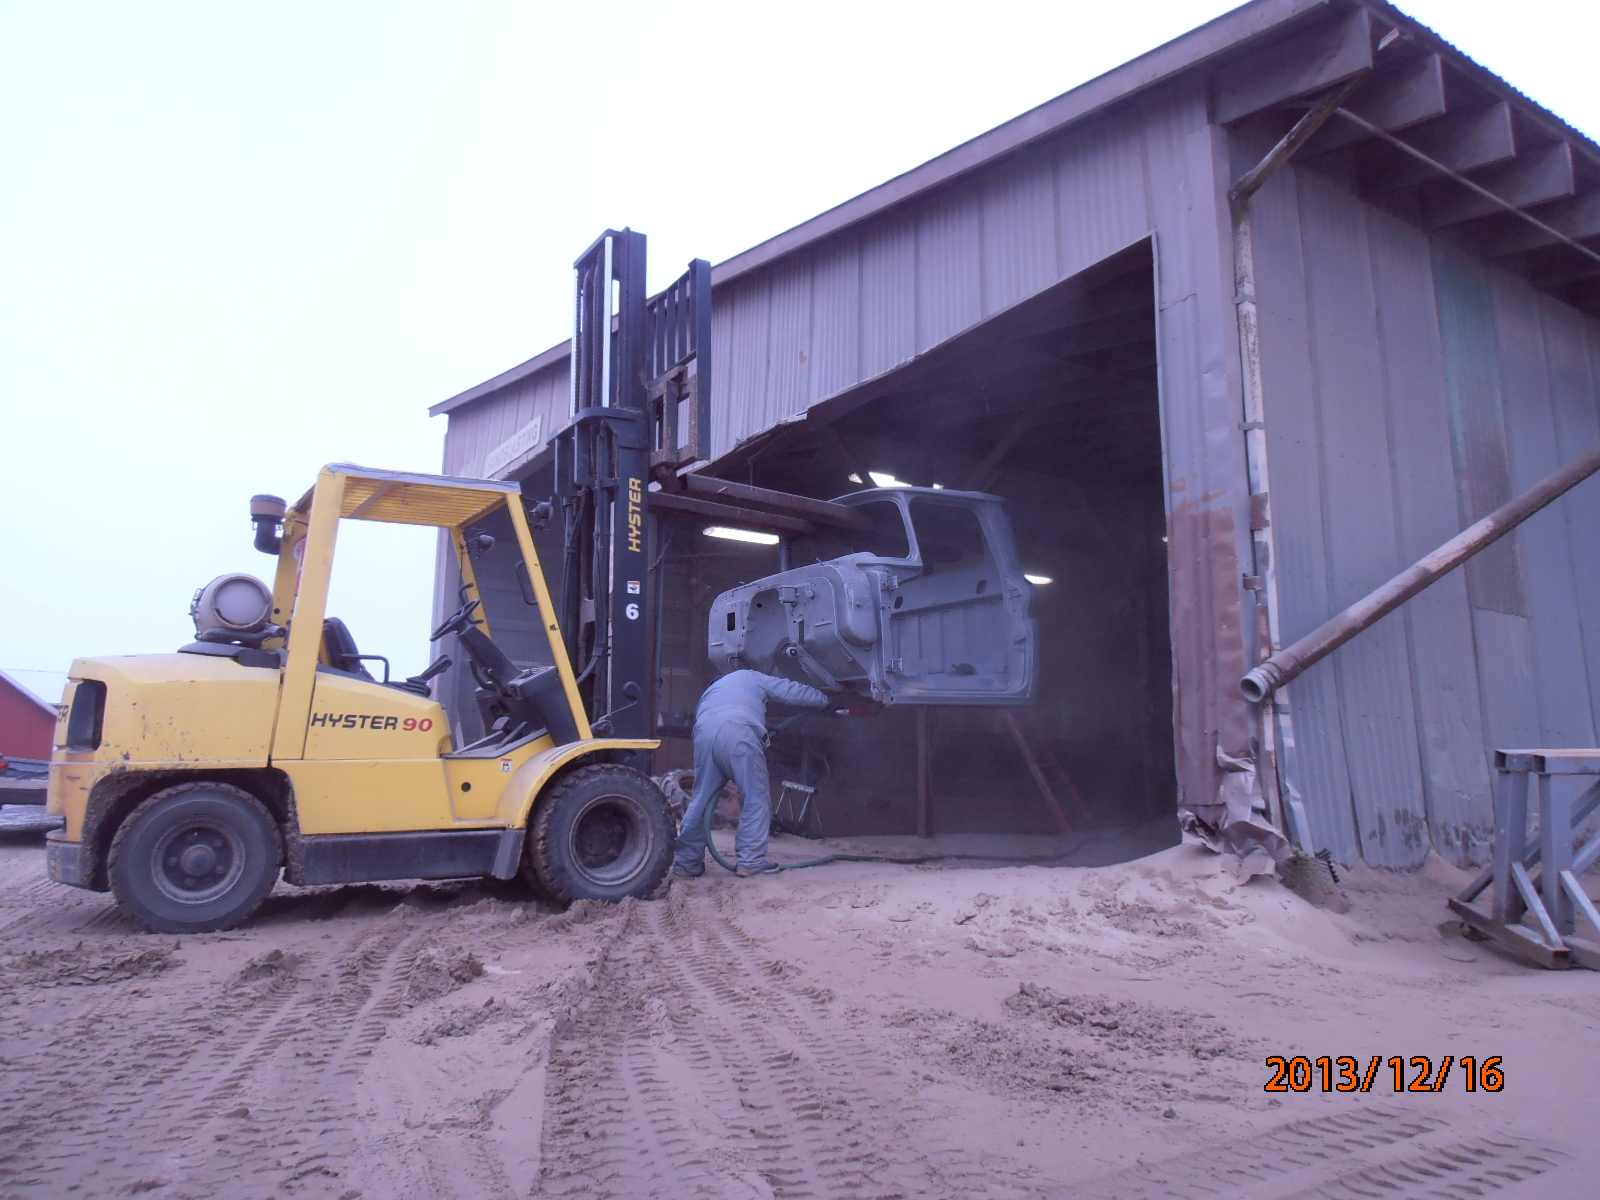
A 1960 Chevy cab with ZERO rot. The only real downers were the radio hole has been altered, and speakers were cut in behind the seat. Ok, we can fix that, and then get the proper and restored to functional radio in there too. But first, sand blasting, and prep for painting. The finish will be the darker blue that 1960 offered, with the white accents and blue interior- Just as factory built for this machine.


After being set aside in the queue for far too long, this truck is back in the shop- The cab that we selected was a nice candidate, but after sandblasting, former work had been uncovered, and the decision to cut out the bad work and replace with sheetmetal taken from donor vehicles was made.
Most of the prep is already done, and the repairs are underway, as of December 2020.
Today, Jan 2, 2021, was a bit of fun with metal work.
We decided to get going on the cab, and had a few speaker holes to fill in. Next is the transmission hump, as someone had chopped it for a different shifter. Then, replacing the corner with the patch panel that we have finished putting together.


There will be a bit more prep, but here is the replacement hump for the transmission.

The cab, like most, has a bit of pitting, and pinhole corrosion. Many would opt to just blow over these areas with plastic body filler, but we will be doing the traditional method of Leading.
Heat is applied to the metal areas to work, with a torch. A cleaning treatment is applied, and the lead is applied as one would use solder. Maple paddles are used to smooth it out and ensure a solid surface contact. Once cured, it is easy to file and smooth, leaving a metal repair that will last forever, without separation.


